 Miking up a guitar amp is a delicate process.
Slight changes in the positioning and angle of the microphone relative to the amplifier’s speaker cone can have a large impact on the tone.
Of course, you don’t actually have to mic the amp at all. There are some alternatives, which we’ll discuss below.
But miking your guitar amp is still the best way to get that natural tone for a live stage, so it’s worth the extra effort.
And it’s not like it’s rocket science. Especially after you’ve done it a few times. Just follow the guide below and you’ll be fine. It has everything you need to know.
Table of Contents
How To Mic A Guitar Amp For Live Sound
Guitar amplifiers have seen constant improvement and have achieved new levels of excellence, even in the lower-price category. But there are still a few important challenges that come with them.
The most common issue is putting it through a PA system, and there’s nothing that can replace the tone of miking up a guitar amp and having its natural tone for live stages.
An alternative is plugging it directly into a mixer and PA system since most amps these days have this option. But what we’ll focus on here is using microphones to set the whole thing up.
Materials Needed
Materials that you’ll need for this are:
- Guitar amplifier: combo or a head with a speaker cabinet
- At least one microphone, dynamic or condenser. Preferably more microphones for a better tone
- Microphone stands
- Microphone cables
Step 1: Know Your Venue
You’re rarely ever going to perform at a perfect venue with a perfect stage. The first thing you need to know is where you’re going to position your amp on the stage and how it’s going to be oriented.

Working with microphones on loud stages is tricky and they always pick up something that you don’t want to have in the mix. Ideally, you’ll want to put it as further away from the drums as possible.
At the same time, your drummer should be able to hear what you’re doing, so feel free to orient the amp just a little bit towards him or her, if possible.
You’ll also have to leave some room in front of your amp to place the microphones and microphone stands. Of course, many venues have smaller stages and nothing is really ideal. Just make sure to find enough space for the microphones that you have.
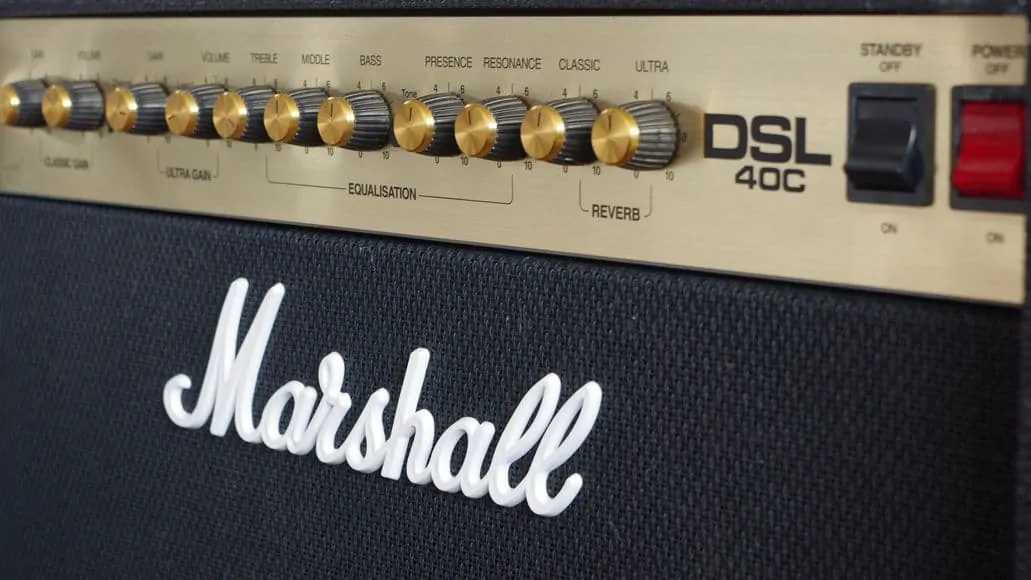
Step 2: Know Your Amp And The Tone You Want
Every amp model is different. And if we’re talking about tube amps, they might not be as consistent as solid-state ones, since their tone quality can change a bit over time as the tubes heat up. You should know the qualities of your amp and which part of the audible spectrum they pronounce the best.
At the same time, you’ll need to have a specific tone in mind. And this doesn’t only come down to how you set up the equalizer and other parameters on it. The microphone placing plays a huge role in how your amp will sound when going through the PA system. But we’ll get to that.
And if it’s a bass guitar you’re playing, do not play your bass through a regular guitar amp. It won’t sound right and it can cause serious damage to the speakers. Get a dedicated bass amp, or one that can handle both instruments.
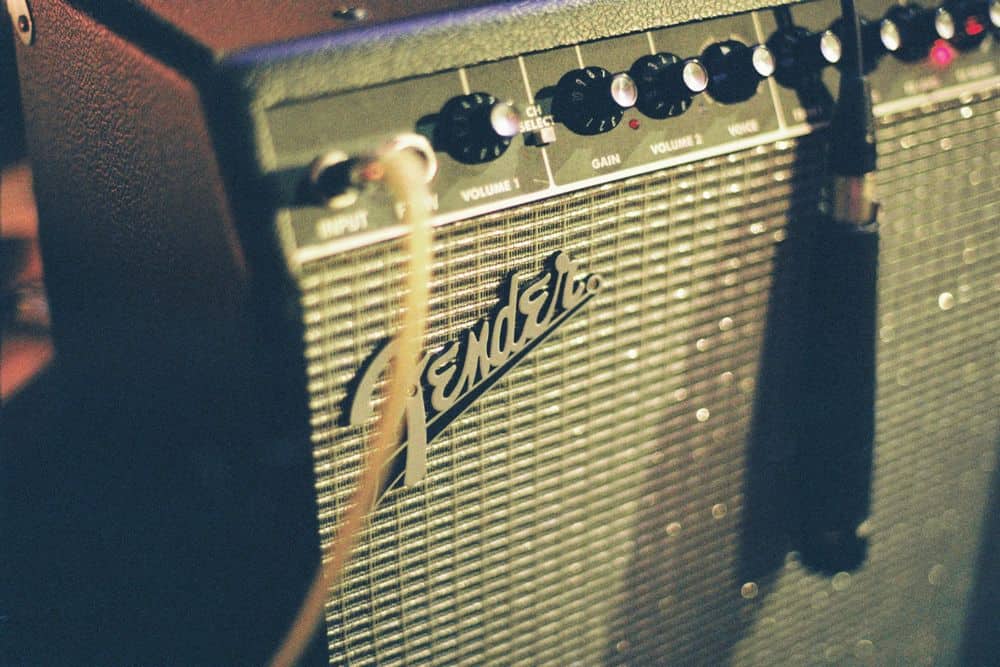
Step 3: Setting Up Your Mics And Mic Stands
The next step involves setting up your microphones and microphone stands. One of the most important things to bear in mind is that they should be close to the amp and yet not bother you or any of your bandmates during the live performance.
Ideally, you’ll want to have specialized microphone stands for guitar amps or just smaller stands that fit more easily in front of your amp’s speaker. There are some that actually attach to the amp.
In some cases, you can place a regular microphone stand behind the amp and have it go above the amp, with the mic facing directly towards the speaker. This alternative can work well in some settings.
From our own experience, those small “boom” microphone stands can work well, both for dynamic and condenser microphones. These are the same kind of microphone stands that you use for bass drums.
The biggest advantage is that they take less space than other microphone stands. Additionally, you can also use two (or more) of them and achieve the same tone as you would with a regular microphone stand that takes more space on the stage.
Of course, there are plenty of settings where you just can’t use a microphone stand. Or you simply don’t have one or don’t feel like schlepping on along on a gig.
The solution here is pretty simple – you can just duct-tape the mic to your amp cabinet’s speaker grill. Of course, the microphone will be positioned at a 90-degree angle from the speaker cone axis which will greatly impact your tone and smoothen it out. But we’ll get to that in the next section.
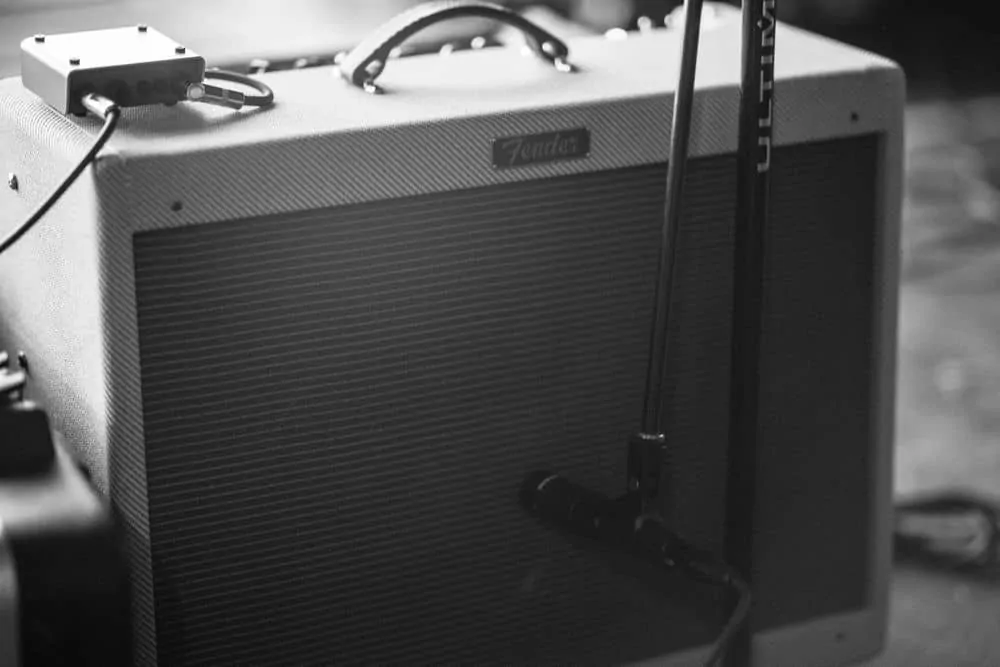
Step 4: Placing Microphones In Front of the Amp’s Speaker
Here comes the main part – placing the microphone in front of your guitar amp’s speaker. This is a delicate process, since your sonic output through the PA system directly relates to where and exactly how you put the mic in front of the speaker.
This goes both for the distance and the angle at which the microphone will face the speaker. And even though it might sound weird, even an inch or two of difference in distance can have a huge impact on your tone.
The most common way is to face the mic directly towards the speaker cone. With such a setup, you get the most realistic representation of your guitar amp’s natural tone.
But the next thing to think of is which part of the speaker cone your microphone should face. The standard rule is pretty simple – the closer you are to the center of the speaker cone, the more high-ends and higher mids you’ll get in the tone.
Moving away from the center, you’ll notice that your microphone picks up more of the lower mids and bottom-ends. And if you place it at the very edge of the speaker cone, you’ll get that really bassy and muffled tone.
If you’re working with two microphones, you can place them at two different positions and have a fuller tone, which is especially useful if you’re the only guitar player in the band.
If you’re working with dynamic microphones, like the Sennheiser e945, place it one to three inches away from the speaker cabinet. Moving it further away may cause your tone to sound too “distant” and “spacious” and the microphone might pick up more noise that you don’t want to have in your mix.
Condenser microphones are somewhat “controversial” for live stages, mostly because they pick up sounds that are further away from the source. However, if you have a condenser mic with a cardioid polar pattern (a lot of them even come with switchable patterns) and put it close enough to the amp, you’ll get a good tone, with a slight accent to higher ends. The Shure SM7B is a great choice.
It’s also not a bad idea to have a combination of a condenser and a dynamic microphone to achieve a fuller sound. Of course, this means you’ll need more room on the mixing board.
The angle at which the microphone faces the cone also impacts the tone. If you notice that your tone is really “harsh,” that there’s too much high-ends and higher mids, putting the microphone at an angle from the main axis of the speaker cone can help.
You can start by putting it directly towards the speaker and then slowly start changing the angle until you find that “sweet spot” where you can hear the high-ends but they’re slightly smoothened out.
As you go off the regular 90-degree angle positioning, you’ll notice a significant drop in high-ends. However, you won’t boost the bottom-end by changing the angle.
As we already explained, you’ll need to go away from the center of the cone (or simply put more distance between the amp and the mic), if you want that muddiness in there. A lot of heavy metal guitar players do this, especially those who use electric baritone guitars.
Step 5: Working With Sound Engineers And Setting Up Your Tone
As funny as it may sound, working with the sound engineer at the venue might be the most challenging part of the process. There are plenty of jokes about guitar players not obeying what front-of-house personnel recommends, but it’s not that far from the truth.
When you set up your tone and when the engineer gives their advice for your output levels, you should not touch anything on your amp. Try out your clean tone, your distorted tone, try adding a clean boost in case you’re using it, and let the engineer decide the output level.

If you feel like you’re not loud enough, ask him or her to increase your volume in the stage monitoring system, or just stand closer to your amp. Remember that what you hear on the stage is not at all the same as what the audience hears.
Alternatives
If you don’t feel like working with microphones at all, then you can always get an amp with a direct emulated speaker output. While this doesn’t really use your amp’s full potential, it can still sound pretty great and it is much easier to set up.
Additionally, you can always use an amp modeling unit or a guitar preamp and go directly into the mixing board. In fact, this method is becoming increasingly popular, with some high-end modelers even emulating different types of cabinets and microphones.
You could also play without an amplifier altogether. And if you’re not playing live, but in the studio, you could record your guitar directly to your PC.
Mic Guitar Amp For Live sound: Final Thoughts
The way you mic your amps makes a big difference. Even if you have the best electric guitar amp money can buy, you can make it sound terrible if you place the microphones incorrectly. That’s why it’s worth taking the time to make sure you’re getting the tone you want.
Once you figure out exactly where to place the microphone(s) to get the tone you want, you can replicate the same positioning every time. The set up will go much faster the more you do it.
Of course, the venue also plays a huge part. If you often play the same location, you have it easy. But if you are constantly playing new venues, you’ll definitely end up with some that make it a real challenge to get your mic(s) positioned correctly.
Leave a Reply