 Guitars need love, too.
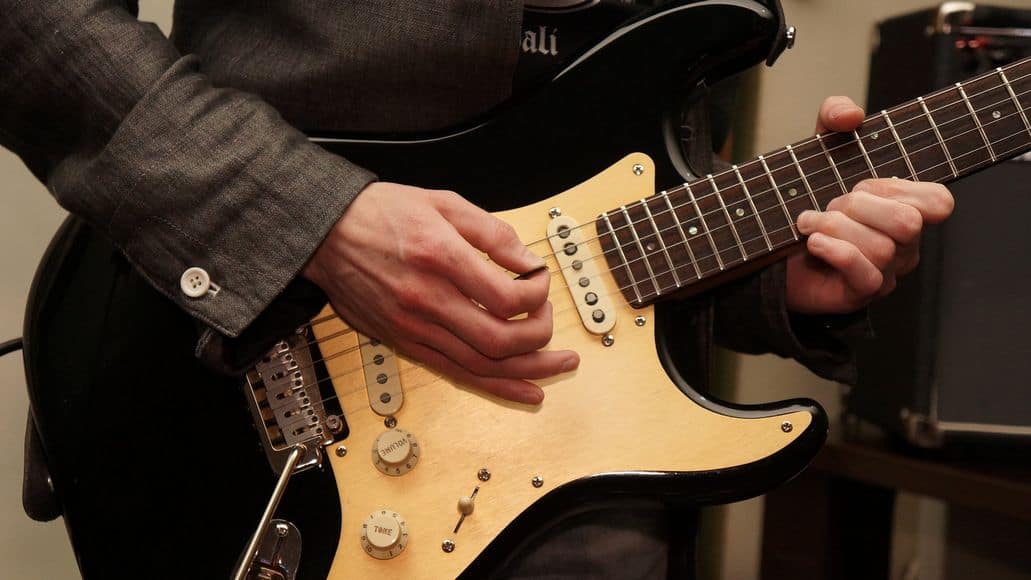
Every time you play, sweat and grim from your fingers gets on the strings, the fretboard and the body.
Doing a quick clean after playing goes a long way toward preventing it from really building up.
That said, even if you clean your guitar every time you use it, eventually you will still need to do a deep clean.
It just won’t be nearly as often.
And while this can be a pain, if you know how to clean a guitar the right way, it will go much faster and you won’t end up damaging your instrument.
So let’s get into it and learn how to properly clean your guitar and also how to prevent it from getting dirty as quickly, so you that it will be a long time before you have to deep clean it again.
Table of Contents
How To Clean A Guitar
Before we get into the actual cleaning of your guitar, it pays to know exactly how guitars get dirty i the first place. That way you can take steps to ensure your guitar stays clean longer. And that means less cleaning for you!
How Do Guitars Get Dirty?
Guitars pick up dirt and dust in a few ways, but the most obvious is if they’re left around and never used, and never get treated to even a quick wipe-downs.
Even if they get used regularly, guitars still get dirty. Think about fresh strings, straight out the packet. They don’t stay that way forever. The oils and dirt on your fingers transfer over to the strings when you play. Your fingers will also dirty your fretboard and the body, for the same reason.
Then there’s rust. The parts of your guitar that are coated in, or made of, metal can develop a layer of rust over time, if not cared for properly.
These parts include the pickups, the bridge, the strings, and the electronics. We have an article on ways to keep guitar strings from forming rust that can help.
And then there’s the good old accidental spill of a drink. If that happens, it’s best you sort it out straight away.
Wipe up the spill with an absorbent cloth. When it’s dry, wipe the area down with a damp cloth so that it doesn’t get sticky. Take it to a professional if the spill has affected the electronics.
How To Keep Your Guitar Clean
The goal when keeping your guitar clean lies in the word “keeping”. The more regular cleaning you do, the less work you will have down the road.
It’s a no-brainer to just save yourself the hassle of having to do a deep clean and make sure it’s always clean. This will also extend your guitar’s lifespan, because keeping your instrument clean will likely nip possible dirt-related technical issues in the bud.
The most important thing you can do is to get into the habit of cleaning your guitar just before and right after you play it. With a cloth, wipe down every part of your guitar.
For the strings and fretboard, use a microfiber or lint-free cloth, and for the electronic parts, like the pickups, use a soft, dry polishing cloth. Make sure to get into all those hard to reach places.
If you have a guitar with a wooden finish, use a specially-made, guitar-friendly polish on the body. Do not use regular furniture polish. The ammonia, abrasives, and alcohol will cause damage to the body.

Finally, keep your guitar in a case or bag when you are not using it. This will prevent it from gathering dust.
Cleaning Your Guitar
We’ll cover each component of the guitar individually, since they all need to be cleaned differently. You’ll also want to use different materials to clean each, so we’ll begin by listing the things you need. All are easily available and you probably already have many of them.
Materials Needed
Here are the materials you’ll want to use to clean the different parts of the guitar.
Body
- Soft cloth, like a polishing cloth
- Guitar polish, if necessary for your guitar
- Guitar wax (optional)
Strings
- Microfiber cloth
- Guitar string conditioner (optional)
Fretboard
- Fine steel wool
- Latex gloves
- Masking tape
- Fretboard cleaning product
- Cloth or toothbrush
Electronics
- Phiilps screwdriver
- Electrical contact-cleaning and lubricating product, like DeoxIT
Bridge
- 3-in-One oil or WD-40
- Toothbrush
Pickups
- Cloth
- Can of compressed air
Cleaning The Body
There is one very important thing to consider when cleaning your guitar’s body – the finish. Mass produced guitars are covered in a shiny polyester or polyurethane lacquer, so you can use guitar polishes on them.
Wood-finished guitars are a different story – don’t use any product at all. Don’t even use water. Even though these guitars have a varnish to protect them, they’re more porous than you think. Polish will do more harm than good.

Step 0: Remove Strings (optional)
This will make it easier to clean the body.
Step 1: Clean
Give your guitar’s body a good wipe down with the soft cloth. It’s best to be in a well-lit area so that you can spot any dirt that might slink by in the dark. If you haven’t taken your strings off, pay attention to the area of the body beneath the strings .
If you have a lacquered guitar, you should always clean it before polishing. If you have a wood-finished guitar, cleaning is the only step you need to carry out.
Step 2: Polish
Spray some guitar polish on your cloth, and then wipe your guitar down again. Make sure to cover the whole body with polish.
Step 3: Wax (optional)
If you want, you can wax your guitar once you’ve polished it. This protects the body by giving it a dirt-proof cover, meaning the guitar will stay cleaner for longer.
Cleaning The Strings
Your strings and fretboard will, over time and through use, start to build up a layer of grime and dirt. For strings, the best fix is obviously to get new strings. The next best thing is to clean them.
If you give them a quick clean after each use, you will have to deep clean them less often and they will last longer. We have a full article on how to clean guitar strings.

Step 1: Wipe
To give yours strings a quick clean, use the cloth to give them a good wipe, along their entire length. If you do this before and after every time you play, you won’t have to deep clean your strings too often.
Step 2: Wet Your Cloth (optional)
The water will make removing any dirt on the strings easier, but it’s not necessary.
Step 3: Pinch And Rub
At the bridge, pinch the string with the cloth, and pull it upwards, so that it’s tense. Then rub all the way along the string, to the nut, and back down. Repeat a few times for each string.
Step 4: Wipe Again
Slide the cloth beneath all the strings. Then fold the other half of the cloth over the top of the strings, so that they’re sandwiched between the cloth. Wipe the strings from one end to the other.
Step 5: Lubricate (optional)
There is debate around whether lubricating your guitar strings actually helps them, so the choice is yours. If you choose to use it, apply lubricant to your cloth. Then sandwich the strings between the cloth, like you did for step 4, and wipe them down.
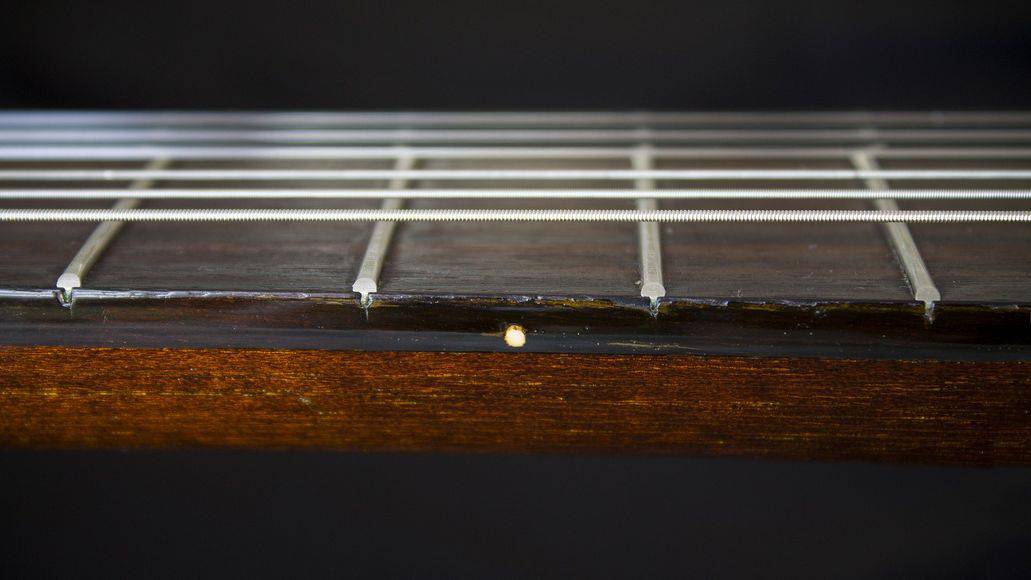
Cleaning The Fretboard
The article for strings mentioned above also goes into detail on cleaning a guitar fretboard.
Step 1: Remove Strings
You’re going to have to take the strings off to do this, so it’s recommended to deep clean the fretboard whenever you change out the strings.
Step 2: Cover Your Pickups
Use the masking tape to cover the pickups so that none of the metal fibers from the steel wool get stuck to them.
Step 3: Scrub
Put the gloves on to protect yourself. Then use the steel wool to scrub the fretboard gently, to work away the grime and dirt stuck on the frets.
Step 4: Condition
Put some fretboard conditioning product on the toothbrush or cloth and apply it to the fretboard. This will rehydrate your fretboard’s wood, protecting it for the long run.
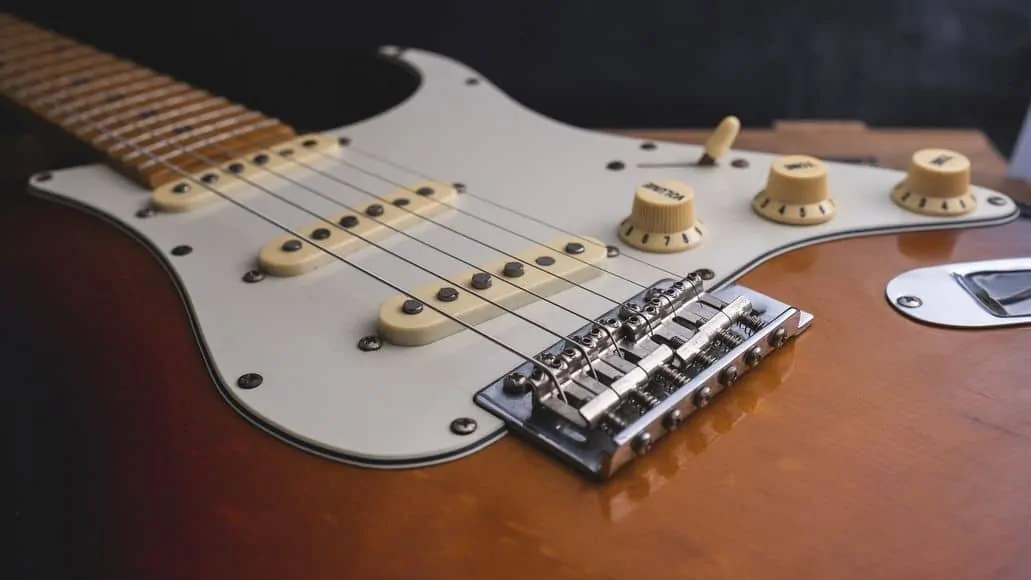
Cleaning The Bridge
Your bridge can rust, thanks to sweat, and the moisture in the air. You want to always make sure it is dry. You also want to make sure to clean it occasionally to avoid the buildup of grime.
Step 1: Apply Cleaner
Apply the product to the toothbrush. This helps avoid accidentally getting it on the non-metal parts of your guitar.
Step 2: Brush
Brush your bridge carefully, but thoroughly, to clean away the grime.
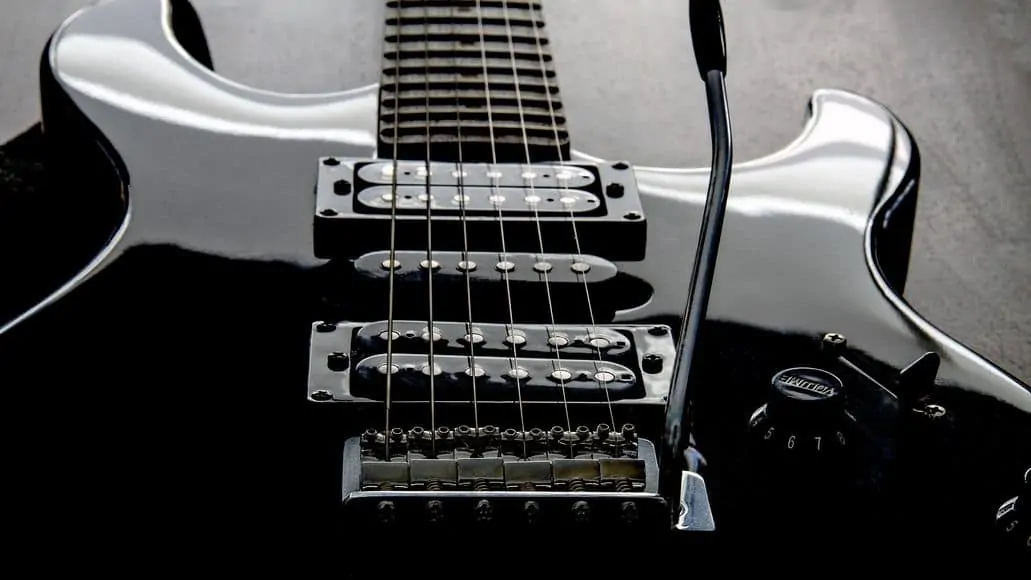
Cleaning The Pickups
The pickups are among the most important parts of an electric guitar. Just like the bridge, the pickups can rust, because of sweat and the moisture in the air. They can also fail due to an accumulation of dirt.
Step 1: Remove The Strings
Removing the strings makes it much easier to clean the pickups. If you don’t remove them, you won’t do as good a job of cleaning the pickups.
Step 2: Wipe
Wipe the pickups with the cloth to get rid of any superficial dirt.
Step 3: Blow
Use the can of compressed air to get into all the hard to reach places you can’t get to with the cloth.
Step 4: Wipe Again
Use the cloth to wipe away any dirt the compressed air might have loosened.
Cleaning The Remaining Hardware
Step 1: Strings Off
You’re going to need to remove them, so you can properly clean your electronics.
Step 2: Remove Screws and Open
Unscrew and and open up either the scratch plate or the control cover, depending on your guitar’s build. Do the same to the jack.
Step 3: Clean The Controls
Open the guitar up so you can see the electronics. You’ll see silver casings. Those are potentiometers, which work the control knobs. Apply a small amount of contact cleaner to the tracks within these. Turn the knobs to spread the cleaner. You’ll want to clean these after grounding your guitar, too.
Next, look for the underside of the switch. Find two little metal plates on either side of it, and apply cleaner to them, too. Then flip the switch a few times to spread the cleaner.
Now, the jack. Apply cleaner to the tip of the jack – the part that your lead touches.
Cleaning An Acoustic Guitar
There are only two differences when it comes to cleaning a classical or acoustic guitar versus an electric guitar. For one, there are no electronics to clean, but you can check your battery if your acoustic guitar has one.
Second, the bridge is different. Acoustic guitar bridges have a saddle – the white bit the strings rest on.
To give your guitar bridge a really deep clean, pull the saddle out. Clean the bridge with the fretboard conditioner, and use a Q-tip to clean in the saddle’s hole, and the string holes. You should also read our article on cleaning an acoustic guitar.
Cleaning Your Guitar: Final Thoughts
A simple quick clean before and after each use is the best thing you can do for the longevity of your instrument. Whether you have one of the best electric guitars for your money, or a cheap acoustic one, cleaning it regularly will prolong its life and keep it sounding great for much longer.
Cleaning your instrument every time you use it might seem like a pain, but the payoff is worth it. Not only will your guitar last longer with regular maintenance, you also won’t have to give it a deep clean nearly as often. And doing a deep clean IS a huge pain.
Leave a Reply