 It can be a bit scary, especially the first time.
Even if you know how to rosin your violin bow strings, if you’ve never done it, there is a lot to worry about.
What is the right amount of rosin?
How often to you need to apply rosin?
Which type of rosin is best?
We’ll answer these questions and more below, along with step by step instructions for rosining your bow strings.
We’ll also cover a few precautions you should take, especially if you have sensitive skin.
Let’s begin by examining what rosin actually is and why we need it. Then we’ll move on to the detailed instructions for applying rosin.
Table of Contents
- 1 How To Rosin A Violin Bow
- 1.1 What Is Rosin?
- 1.2 Why Do Bow Strings Need Rosin?
- 1.3 How To Rosin A Violin Bow
- 1.3.1 Step 1: Check If Your Violin Bow Is Pre-Rosined
- 1.3.2 Step 2: Choose The Correct Rosin For Your Violin Bow
- 1.3.3 Step 3: Score The Surface Of Your Rosin To Make It Easy To Use
- 1.3.4 Step 4: Clean The Previous Rosin Application Off Of Your Violin Bow
- 1.3.5 Step 5: Apply/Rub The Rosin Onto The Violin Bow String
- 1.4 How To Apply Rosin To Violin Bow: Additional Considerations
- 1.5 Some Precautions Before Using Rosin On Violin Bow Strings
- 2 How To Apply Rosin To A Violin Bow: Final Thoughts
How To Rosin A Violin Bow
Applying rosin to a violin bow is not difficult, if you know what you are doing. And that is exactly what we will teach you today. The first step is to understand what exactly violin rosin is. Because there are a number of different types of rosin out there.
What Is Rosin?
The rosin you need will differ, depending on the instrument, bow material and how the musician plays.
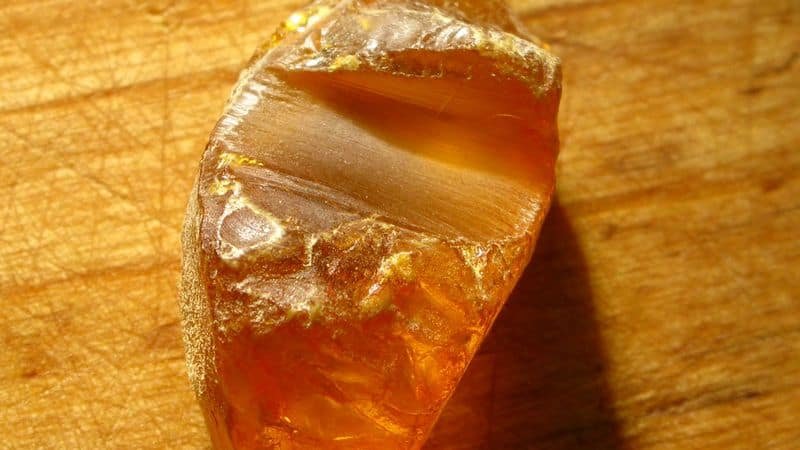
Some rosin includes metals like gold, silver, copper and lead, which help to produce defined and brighter tones when playing the violin. Rosin may also include tree sap and beeswax. When prepared, it is poured into molds and the ends are burned to make them smooth.
Rosin comes in either a boxed form or a caked form. The caked rosin is higher quality and more pure, whereas the boxed rosin is easier to use and especially great for beginners when they’re learning how to use the instrument.
The physical characteristics of rosin also differ. Dark and bass rosins are soft and sticky, and the amber and light rosins are harder and less sticky. By experimenting with different rosin quality, musicians can change their music styles and manipulate the tones they wish to produce.
Why Do Bow Strings Need Rosin?
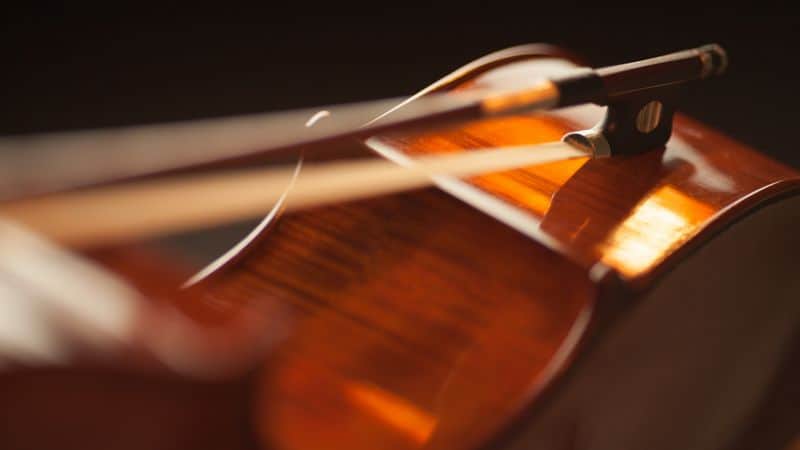
The violin bow is an incredible tool. It makes beautiful sounds when run across the strings of a violin, but it makes those sounds only when there is enough friction between the bow hair and the violin string.
The violin bow is made of stringed horsehair which has tiny barbs that catch onto the violin’s strings and produce the sound. The tiny barbs hook onto the string and when friction is applied as the musician moves their arm, the necessary sound is created.
Without rosin, the bow glides over the strings without sufficient friction to create any sound, unless you apply a ton of pressure.
And as you play, the rosin on the bow will begin to flake off. After a while, you will need to treat the bow with additional rosin. This is the case with any bow, from the cheapest ones to the best violin bow money can buy.
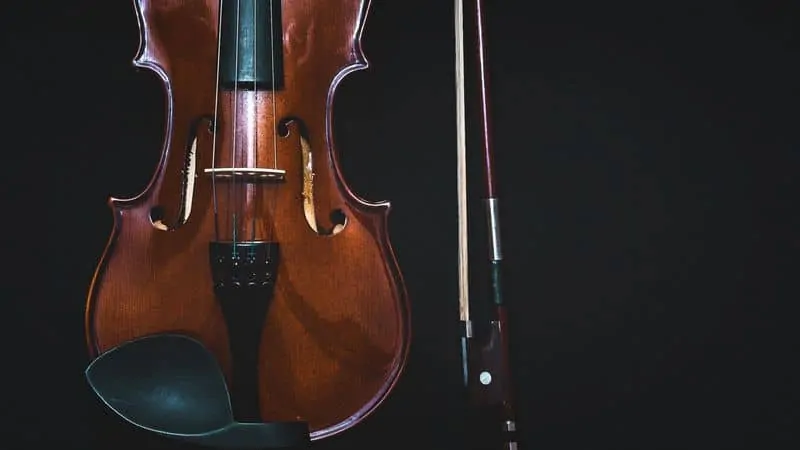
What do violin bows cost on average? The range is huge. You can get a dirt cheap bow for $20 and you can pay upwards of $30,000 for a boutique bow.
How To Rosin A Violin Bow
If the time has come to rosin your violin bow, I’ve got some great tips to help you take care of that at home. Luckily, it’s not as complicated as it sounds. If you’re an adept violinist who knows their way around the instrument, you shouldn’t have any problems.

One thing to keep in mind is that violin bow strings come in three types and it is essential to use the correct rosin for each type:
- Gut Core
- Synthetic Core
- Steel Core
A lot of the rosin on the market is designed to work with any type of string. If you are just starting out, I recommend reading our article reviewing and comparing the best rosin for violin.
Step 1: Check If Your Violin Bow Is Pre-Rosined
If you’re purchasing a new violin bow, ask the manufacturer if your bow has been previously rosined or not. You need to be a bit more careful when rosining a bow that has never been rosined before and it will take a little more time to get the rosin on the bow properly.
If your violin bow has already been rosined, but you’re looking to change the sound it’s creating, play it for a while to wear out the rosin and proceed to step number two below.
Step 2: Choose The Correct Rosin For Your Violin Bow
Violin bow hairs are smooth and pretty slippery, which is why musicians use rosin to add some resistance and texture. Because the resin used in rosin comes from various types of coniferous trees, it will have different properties, depending on the one you choose.
As previously mentioned, darker rosins are heavy and sticky, whereas lighter ones are less dense. Rosin also reacts to temperature and humidity changes. This means that you may need to switch up the type of rosin you use as the climate changes. Depending on the climate where you live, this could have a pretty big impact.
Step 3: Score The Surface Of Your Rosin To Make It Easy To Use
When you will unpack your caked rosin, it is going to be shiny and smooth. In this condition, it will take a while for the rosin to rub off onto the bow strings. To make rosin application easier, musicians score the top of the rosin’s surface to create small ridges and scratches.
Once the surface has been scored, it’s ready to use. Don’t overdo the scratching or scoring. It does not take much pressure. Simply use a use a plastic knife or a small fork to gently create some texture on the surface of the rosin, to make it easier to rub it smoothly onto the violin bow.
Step 4: Clean The Previous Rosin Application Off Of Your Violin Bow
Now that your rosin cake is ready to use, it’s time to clean your bow strings to create a uniform and smooth surface. Use a soft fabric and gently run it up and down the bow string to loosen and clean off the previous rosin.
It is important to clean off the old rosin so that the new application has a better chance of sticking and being applied uniformly.
Once you’re done cleaning your violin bow string, it’s time to begin. Spread out a mat to catch excessive rosin, put on rubber gloves (especially if you have sensitive skins) and you’re all set to start.
Step 5: Apply/Rub The Rosin Onto The Violin Bow String
Before you begin rubbing the rosin, tighten the bow strings. This is essential. If the bow hairs are too loose, it becomes difficult for them to hold the rosin. They are also more easily damaged and will have to be replaced sooner.
Once your bow is nicely taut, use the serrated or textured end of the rosin and begin rubbing from the base of the bow string. The idea is to rub the bow across the cake’s surface from the bottom up – it’s similar to playing a violin but with a rosin cake!
Do not move your string too fast — too much movement will cause friction, which will generate heat. This can compromise the quality of the rosin when it’s being applied to your violin’s bow.
Keep on rotating the rosin bar to avoid making deeper grooves in one section of the rosin cake. As you apply the rosin, you’ll see rosin dust falling on your instrument. Make sure to clean this off when you’re done applying rosin. You want to make sure no rosin dust stays on the instrument to protect the violin.
How To Apply Rosin To Violin Bow: Additional Considerations
Before you get excited and grab your bar of rosin, take some time to read the following. It’s essential to take care of your instrument and the rosin so as to not compromise on the quality of your violin.
How Often Should Rosin Be Applied?
Usually, music students are instructed by their teachers to re-apply a layer of rosin after ever 4 to 6 hours of consistent playing. In other words, you should apply rosin to your bow string twice a week, depending on how frequently you use the instrument. This applies to any violin from beginning instruments, to professional one.
How Much Rosin Is Good Enough?
You’ll probably figure this out after a few trials and errors. The amount and quality of the rosin you use ultimately affect the way your instrument performs and the sound it’s able to create. So if you’re wondering how much rosin to use, here’s a benchmark idea.
No Rosin At All
If a violin bow string has no rosin on it, it will create a very bland and hollow sound. You will have to press your bow much harder onto the violin strings to create any sound at all.
Not Enough Rosin
Not applying enough rosin still allows you to create sound, but the notes produced will be inconsistent due to the bow’s inability to move smoothly across the violin strings. If your rosin is applied unevenly on some parts of the string, the sound produced will not be uniform.
The Best Amount of Rosin
Ideally, 4 or 5 full strokes of a rosin cake are enough to produce the desired results on an already used bow, and 10 to 12 strokes are good enough for a newly bought non-rosined bow.
The bow should be able to move smoothly and easily, without any bumps or friction. The instrument will also create warmer, brighter and richer sound. If is sounds right, that signifies that the rosin application is perfect.
Too Much Rosin
When you apply too much rosin, the bow will feel sticky when placed on the violin strings and will be tougher to move. It will require more effort on the your part and the sound produced will be scratchy and/or harsh. On top of that, you’ll know there’s excess rosin because the dust will fall off as you play.
Some Precautions Before Using Rosin On Violin Bow Strings
Rosin is made from wood and other materials like sap, metal powders or essential oils. It’s always important to protect yourself before applying rosin.
Because many violin players develop allergies or skin conditions like dermatitis due to rosin dust, it’s important to wear gloves and a mask before using caked rosin.
Rosin cakes last for a very long time and good ones retail for around $20 to $40. Don’t skimp. If you’re sensitive or have dust allergies, pay a little more for rosin brands that are a 100% natural and free from additives.
How To Apply Rosin To A Violin Bow: Final Thoughts
Applying rosin to your violin bow the first time can be a bit scary. There are a lot of things to take into consideration. Hopefully this detailed step by step guide helped allay some of your fears and got you through the bow rosining process smoothly.
Thank you for your guidance.
Thanks, Camila. It was very helpful.
Thanks for the info!
While I am working on a lot of different fundamental techniques for violin and viola – I’ve been playing about 8 months – I am just realizing that I am applying way too much rosin!
I actually had it backwards (basically) – I was applying rosin every practice session, and I thought that the scratchiness was caused by not enough rosin 🙂 hahaha
It looks like I am going to go on rosin holiday for awhile and hopefully that will improve my tone (plus keeping the room in the winter humidified, too).
Thanks again!
That’s a common issue. And your tone should improve with less rosin.