 It’s a pain, but it has to be done.
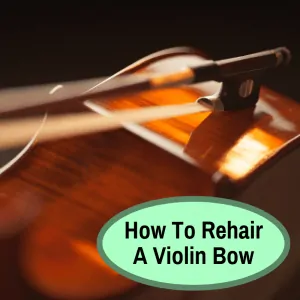
If you own a violin, the time will come when you need to rehair your violin bow.
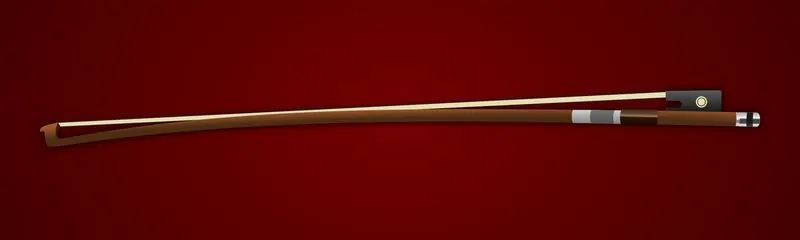
Like changing a string, this can seem like a daunting task. These bows are delicate and if you accidentally damage them, they can be costly to replace.
For that reason, many violinists opt to pay someone to rehair their bow. It’s easier and safer.
If you can afford it, I highly recommend you hire a professional.
But doing it yourself is possible. As long as you know what you’re doing.
And by the time you get to the end of this article, you will know what you’re doing.
Beginning violinists and experienced instrumentalists alike often make the same mistakes. Luckily, they are easy to avoid if you follow the correct procedure.
My instructions will guide you through the rehairing process and ensure you do not do any irreversible harm to your bow.
Table of Contents
Violin Bow Rehairing: A Complete DIY Guide
Before we get to the rehairing instructions, let’s take a look at the tools you need to rehair your violin bow. Many are things you probably already have around the house.
Things You Will Need
- Horse hair (like this good, inexpensive pack on Amazon)
- Needle-nose pliers
- Sharp Scissors
- Superglue
- Gauge (this is a good one)
- Thin wire
- Wire cutters (like these)
- Hair clips or hair slides
- Comb
Removing The Old Horse Hair
Obviously, before you can attach new hair to your bow, you need to first remove the old hair. To do this, simply take your scissors and cut the hair off, leaving a few inches at each end. These few inches will allow you to get leverage for the next step.
Now, use your needle-nose pliers to grip the very end of the few inches of remaining hair on the plug side of the bow. Roll the pliers into the hair, so that it wraps around them.
Keep rolling the hair onto the pliers, while pulling it from the plug. Some plugs release the hair much more easily than others. Either way, be careful not to damage the plug.
To remove the hair from the heel of the bow, loosen the screw at the back of the frog wedge first by twisting it to the left. This will loosen the ferrule.
You’ll probably need to spend some time rocking the ferrule back and forth before it loosens. Again, be patient. You don’t want to cause any damage to the wood.
When it is released, remove the small wooden wedge at the bottom and then use the same method with the pliers as you did on the plug side.
Buying Horse Hair And Storing It
When buying horse hair, the general rule is: the lighter the hair, the better. If you can afford it, get lighter hair.
To properly store the hair, make sure to gather it together neatly, so it doesn’t become tangled and unusable. An easy way to do this is using ordinary hair clips at the top, bottom and middle of the bunch of hair.
Replacing The Horse Hair
Use the gauge to measure how much of the horse hair you will need. It should be approximately the same width as the ferrule that you removed earlier.
Gather the hair that you cut off and clip it together using simple clips or hair slides, so that it stays together and doesn’t get tangled while you are working with it.
Use the wire to tie the hair closely together at each end. Use the glue to get the hair to stick together at the part where it is slightly protruding from where you tied it together with the wire. This will ensure that it fits neatly, without any hairs sticking out. Give the glue time to set.
Once the glue has set, insert the hair at the top of the plug (with the wooden wedge removed) using a thin stick or screwdriver to poke it in and get it in the correct position.
When you have the correct positioning, put the wooden wedge back in place, to ensure the hair stays where it should. You want the plug to be flush with the tip of the bow.
Before attaching the hair to the heel or frog side of the bow, remove the clips and use a small comb to comb out any tangles that may have appeared. You want the hair to form a thin ribbon shape as opposed to being bulky like a rope.
Once you’ve got it nice and combed, put the clips back to prevent any future entanglement. Tie the loose side of the hair off with wire and fuse the hairs together with glue, just like you did before with the other end.
Slip the hair through the ferrule. Remove the bow from the frog to give you a little bit of extra room to work with.
Place the hair into the small hole in the frog from the top down. Use the screw driver or stick to get it in the correct position, before putting the wooden wedge back in place.
Finally, slide the abalone back, keeping the hairs away from the rail.
When you have finished reattaching the last wedge, you can use apply light heat quickly along the hair, to get the strands to fuse together a bit for finer playing. Then use some rosin to prime the bow. Crush it and gently pat and rub it all along the hair.
That does it! You’ve successfully reahaired your bow and it’s ready to once again make beautiful music. Nice work!
Violin Bow Rehair Cost
If you do it yourself, the cost is your time, plus the cost of the replacement hair. You can easily find good bow hair for under $10 and even extremely high quality hair shouldn’t cost much more than $20.
If you don’t want to do it yourself, you can expect to pay a professional luthier around $50 to $80. This includes the cost of the horse hair and labor.
It is money well spent to ensure your valued instrument is taken care of. This is true even with cheaper bows, but especially is you have the best wood or the best carbon fiber violin bow money can buy. Why spend money on an expensive violin bow and then scrimp on keeping it in good condition.
Rehair Violin Bow: Frequently Asked Related Questions
These are some of the most common questions I get related to rehairing a violin bow.
How Often Do You Rehair A Violin Bow?
It mainly depends on how much you use your violin. If you play 4 or 5 hours every single day, you will likely need to rehair your bow 3 or 4 times a year. If you’re not quite that dedicated, replacing it once or twice a year is usually enough.
How Do You Tighten The Hair On A Violin Bow?
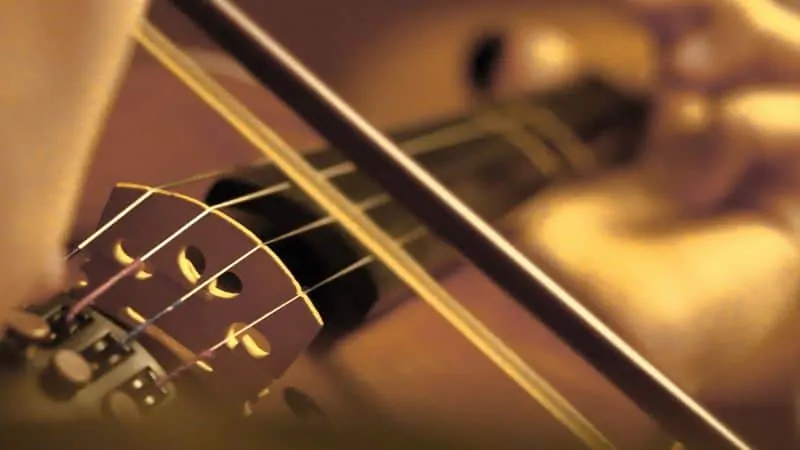
There is a screw on the end of your violin bow. Turn this screw to tighten (or loosen) the hairs on your bow.
How Do You Get Broken Hair Off A Violin Bow?
If you have a few loose or broken hairs, there is no need to replace all the hair entirely. You can just remove the offending hairs and continue playing with the bow.
If you have a loose hair, cut it at the loose part, which makes it the same as a broken hair. For broken hair, pull the hair(s) away from the rest of the bow and then cut it carefully at both ends. Cut close to the frog and the tip.
You do not want to pull the hair out. If you do that, the grip on the remaining hairs loosens a bit and it make it easier for more of them to become loose or to break. Always cut the hairs, leaving the ends still attached at the frog and the tip.
Resources
Here is a two-part video series that might help illustrate the rehairing process.
How To Rehair A Violin Bow: Final Thoughts
Rehairing your violin bow is one of those things you have to do, but never want to do. It is a pain. Of course, you don’t have to do it. We always recommend having a professional handle it, if you can afford it.
However, if you are on a budget, you’ll probably want to do it yourself. In that case, follow the instructions above and take your time to do it right.
depends on the bow, I have cheap ones for busking and pubs, rehair would cost more than the bow is worth, I have audition bows for these get someone who can do it well.
Exactly my opinion. I’ve bought a new bow for as little as £ 15 from Ebay. I just play for pleasure so what’s the point of having it restrung ?
Did I miss something? The two videos I watched showed how to take a bow apart and keep the parts for ultimate rehairing, but I didn’t see the video to actually rehair the bow to completion. Was this an oversight? Was it intentional? Either way, I get the definitive answer to have the bow rehaired by a trained professional. Suck up the cost and let them do it right!
All very well but consider about isolation. I (and not doubt many others) am over a 1000 miles from the nearest luthier and in an environment that is hot and dry. horse hair goes brittle very quickly.. Air conditioning tends to dry out the inside air as well.
That’s a good point. Many people simply don’t have the option of getting it professionally done.
PLEASE! For anyone seriously considering doing a bow rehair by themselves, this is NOT the guide to follow.
I’m sorry, but as a professional luthier myself who does bow rehairs on a daily basis, this is not something you just “learn” in a day. It took me weeks under professional guidance to learn how to do this properly and not destroy the bow or have the whole thing fall apart on me.
There’s a reason why us luthier exist 🙂 trust me, paying fifty some dollars for a professional to do the work safely and quickly is MUCH cheaper than wrecking your bow and buying a new one.
Support your local music business and stop in and say hello 🙂 we’re a cool bunch of I say so myself. You don’t want to be “that customer” who brought in an instrument they broke because they were trying to save a buck (yes, we do talk about those people 😉 show your instrument some love and get it the care it deserves!
I don’t disagree with this. It is always better to have a professional handle things like this. And supporting a local business is always good (assuming it is a good business, run by good people, of course).
But there are some people who simply won’t pay to have something done that they feel they can handle themselves. It is for those people that I had this guide written. And you’re right that they may very well come to regret their decision to DIY, but they will try regardless.
I wish you nothing but success in your business!