 Your violin is going to start sounding worse and worse.
But don’t worry: that does not mean it is slowly deteriorating to the point where you need to buy a new one.
It simply means you need to clean your violin.
If it is not maintained properly, the sound quality starts to go downhill.
It also becomes more and more at risk for permanent damage.
To avoid this and to keep your instrument sound its best, you need to clean it regularly. This goes for any violin, from a simple beginner’s instrument, to a priceless antique.
But you need to be careful.
If you clean your instrument the wrong way, you could do irreparable damage to it. For this reason, some players prefer to have theirs professionally cleaned.
But learning how to properly clean a violin is not difficult. Below is a step by step guide that ensures you keep your instrument in great condition and do it no harm in the process.
Table of Contents
How To Clean A Violin
Handling and storage are main contributors to a lot of the dirt buildup and the unpleasant sticky substances that gather on a violin. Unfortunately, there is not much you can do about that. A violin needs to be stored and handled.
Your only recourse is to clean off the dirt and other substances that begin to accumulate on your instrument. The different parts of the violin are affected differently and need different care. Let’s look at how to clean each in turn. But first, let’s see what tools you will need for the cleaning.
What You Will Need: Violin Cleaning Cloth
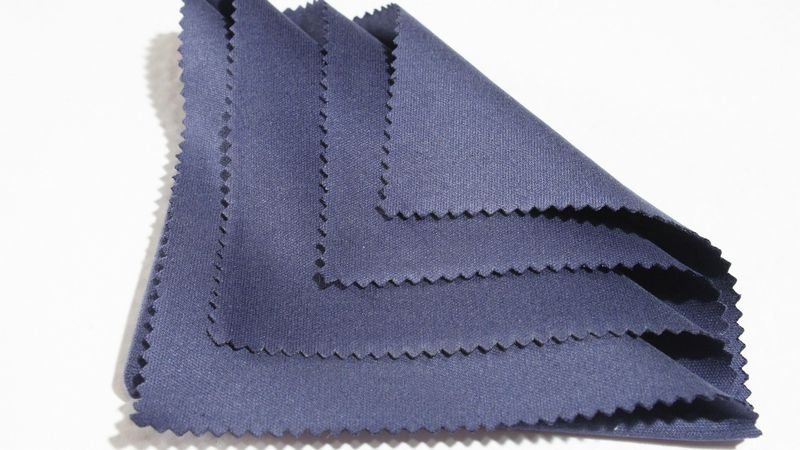
Don’t worry about getting a specialized ‘violin cleaning cloth.’ Those are really just microfiber cloths. You can get any standard microfiber cloth.
I highly recommend you also get some violin polish. Use that to polish the surface after cleaning, but only do this once a month (twice, at the most).
You can find violin polish on Amazon. The easiest is to buy a complete kit that also includes microfiber cloths.

- Everything you need to properly clean and maintain your instrument.
- Music educator-approved cleaning products.
- Kit includes: polish cloth, dark rosin, plain, white hanky, Luthier's Choice instrument polish, and Luthier's Choice peg compound.
- Country of Origin: United States
How To Clean Violin Strings
Much of the dirt buildup from storing and handling sticks to the strings. They get even more buildup from the rosin, which is typically used to treat the bows of stringed instruments. Whenever the violin is played, rosin slowly rubs off the bow and sticks to the strings.
All of this means that the strings should be the primary focus when cleaning your violin and learning how to clean rosin off the violin is vital.
Using a clean microfiber cloth, slowly wipe down the strings. As you wipe along each string, make sure you’re removing all the rosin that has built up over time.
Repeatedly wipe each string until it is completely clean. There’s no point in only doing half the job; you’ll just have to clean it again in a few days. If you break a string while cleaning, we have a guide on repairing them.
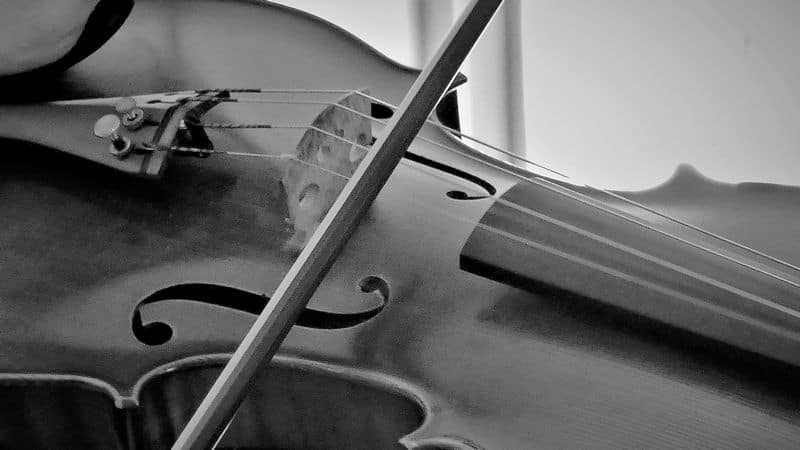
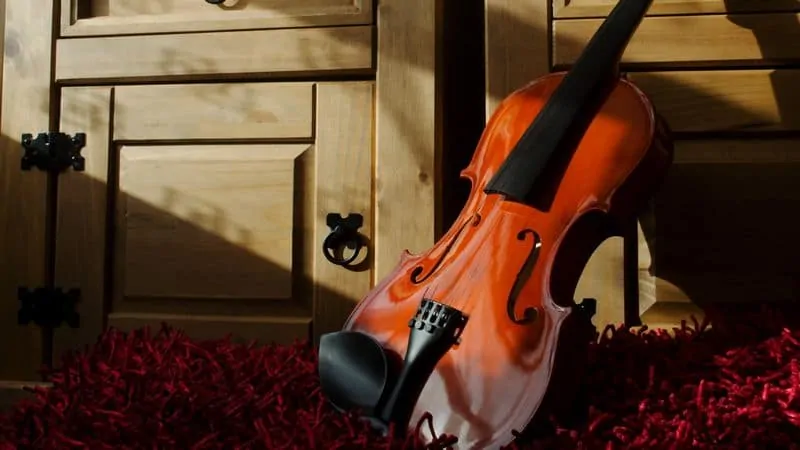
Clean The Face Of The Violin
After wiping down the strings, the next logical step is to clean the face of the violin.
The reason you want to do the strings first is that it is highly likely that some rosin will flake off when wiping the strings and land on the face, adding to the buildup of dust, dirt and oils that have likely gathered there already.
Using a clean microfiber cloth, wipe the surface of the violin in a back and forth motion, paying particular attention to the section around the F holes.’ Also, take care when wiping beneath the strings.
Both the F holes and beneath the strings are sensitive areas. If they are not cleaned with absolute care, you could damage the violin.
When cleaning, never make the mistake of pulling the microfiber cloth against the bridge or the strings with any real force. The debris normally comes off pretty easily when cleaning, so there is no need to apply excessive pressure when cleaning these sensitive areas.
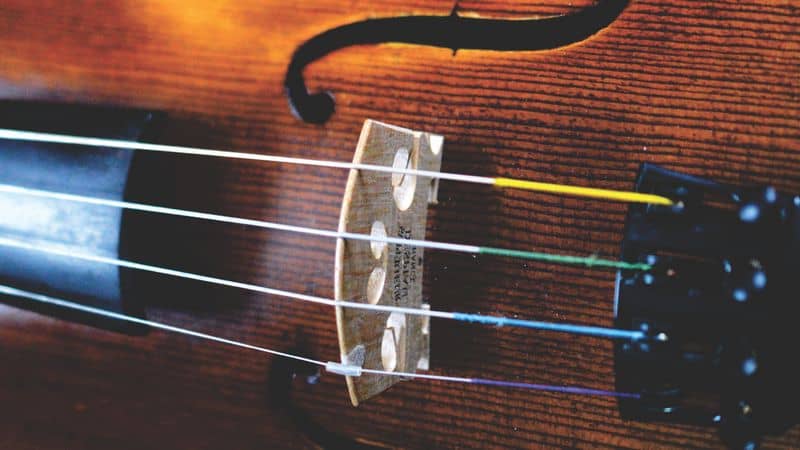
Clean The Area Under The Bridge
If you’ve used a violin at all, you already know that the bridge is not fixed in place. The bridge is held steady against the face of the violin by the tension of the strings.
This means that it’s pretty easy to dislodge the bridge during the cleaning process. If the bridge does dislodge, we recommended you engage the services of a violin specialist to reset it.
To minimize the risk of damage during cleaning use cotton swabs, like Q-Tips, to clean the bridge. Sure, you can use a microfiber cloth, but it is very important that you take the utmost care to exert only minimal pressure, so as to not dislodge the bridge.
Take your time and do not rush this, as being careless and damaging or dislodging the bridge will cost you much more time (and probably money) in the long run.
How To Clean A Violin Bow
Rosin has a habit of building up on the stick, the same way it does on the strings and violin body. For this reason, you want to wipe down the stick with a clean microfiber cloth to remove any accumulation of rosin.
Debris also tends to accumulate on the metal windings located near the frog of the bow. You want to be sure to clean the windings as well.
The hairs of the bow should not be cleaned at all. This part of the violin needs rosin and removing it from here will actually damage your violin and degrade the overall sound quality.
Polish The Violin Wood
Most people feel the need to polish the wood after cleaning, but this is actually not recommended.
Polishing the wood every time you clean your instrument will only destroy the attractive wood finish, encourage dirt buildup, and affect the violin’s playability and sound. Instead, only polish the wooden part of your violin occasionally, like maybe twice a month at most.
When you do polish your violin, use a polish formulated exclusively for violins or one meant for stringed instruments in general. Apply a small amount of polish to the wooden surface and gently rub it in a circular motion with a clean microfiber cloth until the wood absorbs the polish.
As with cleaning, be gentle when approaching areas near the bridge, the F holes and other delicate parts. Make sure the polish does not come into contact with the strings, because it would have a negative effect on the sound quality of the instrument.
Proper Storage
As you can see, cleaning a violin is a time-intensive process. Ideally, you want to clean it as seldom as possible. The best way to avoid having to clean your violin too often is to always make sure to store it properly.
Never store your violin in places with extreme temperature changes. They are extremely fragile and can easily break when exposed to overly high or low temperatures. You also want to have a well-made storage case where you can keep your violin when you are not using it.
How To Clean A Violin: Final Thoughts
Adhering to these cleaning and storage procedures will ensure your precious instrument lasts longer and continues to produce the same beautiful sound throughout its lifetime.
If you have any additional questions about cleaning and maintaining your violin, please feel free to ask them in the comments below, or check out our article on how to protect your violin.
Under “Polish the violin” you show a photograph of a student violin with the bridge removed, but all strings attached. Removing the bridge can cause the soundpost to fall, and if the soundpost has fallen, tightening the strings will cause the top of the violin to crack. Why give anyone the wrong idea? Never remove the bridge when cleaning the violin.