 All violinists, have been there.
Breaking a string is incredibly frustrating. Maybe you’ve broken one mid-practice. Or one of your tuning pegs has become loose in your case and caused your string to snap.
No matter how it broke, it always makes us want to shout “WHY?!”
Once we’ve calmed down, our first thought may be to head to our local instrument shop and have our string replaced by a violin specialist.
But why spend money when you can fix it yourself for next to nothing?
Especially if you’re only just starting out on a beginner’s violin.
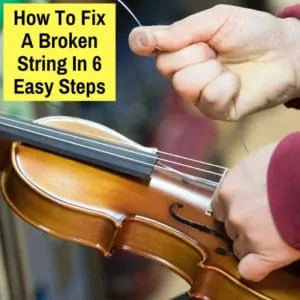
Here, I’ve put together an easy-to-read, step-by-step guide to fixing your broken string while keeping your money in your pocket. You’ll be playing again in less than 20 minutes, I promise you that!
Table of Contents
- 1 Violin String Replacement
- 2 How To Change Violin Strings
- 2.1 Step 1: Remove Your Broken String(s)
- 2.2 Step 2: Attach Your New String To The Tail Piece
- 2.3 Step 3: Guide Your String Up The Violin Neck And Hold In Place
- 2.4 Step 4: Thread The End Of Your String Through The Tuning Box
- 2.5 Step 5: Tighten Your String By Winding The Tuning Peg
- 2.6 Step 6: Tune Your String
- 3 Violin String Replacement Cost
- 4 How To Replace Violin Strings: Final Thoughts
Violin String Replacement
For this tutorial, you will need:
- Your violin
- A set of replacement strings – you can purchase strings of all sizes on Amazon (if you’re not sure which strings to get, this post will help)
- 2 hands! – I would advise that you have someone with you to help, as it will make the process of installing your new string much easier. However, it is perfectly possible to do without any help.
Before working your way through this step-by-step guide, review your broken string and ask yourself these questions: “Is my string broken in half? Has it come loose from the tuning peg? Has it come loose from the tail piece?”
Knowing where your string has broken is something you need to keep in mind during this guide, as you may not need to do every step! But don’t worry, I will make it clear and easy for you.
How To Change Violin Strings
Follow these step to change a broken violin string.
Step 1: Remove Your Broken String(s)
Note: Even if your string has only come loose on one side, it is still advised that you remove the entire string and replace it anyway.
If your string has come loose only from your tail piece, you will need to unravel the opposite side of the string from the tuning peg. To do this, unwind the relevant tuning peg and feed the end of the string back out of the hole it is wound up in.
If your string has come loose only from your tuning box, you will need to release the opposite side of the string from the tail piece. To do this, simply slide the ball that you see on the end of your string out of the small hole that your string is being held in, and gently pull it out.
If your string has broken in half, you will need to follow both of these steps.
Pro Tip!
If you need to replace more than one string, never take them all off at the same time! Always replace one by one.
Why?
The bridge is not glued down to the violin. It is held in place by the pressure of the strings, along with some support from the sound post directly inside the body of the violin. Taking all your strings off at once will release that string pressure and could cause your sound post to collapse.
Check out the video below to see and example of how to remove your string. It is cued to the part pertaining to this step.
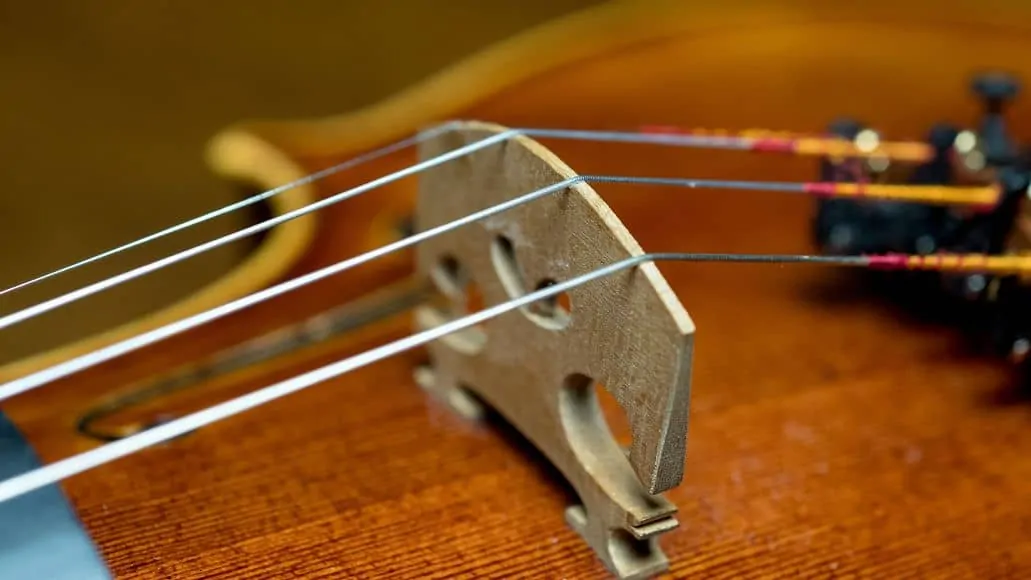
Step 2: Attach Your New String To The Tail Piece
You will see that one side of your string has a ball on the end of it. This is the end that you will need to attach to your tailpiece. You will also see that the tailpiece has a hole in it for each string.
Here’s how to do it.
- Put the ball end of the string through this hole in the tailpiece, and slide it up into the thinner part of the hole. This will keep it in place.
- Guide the string up towards the bridge, where you will see it has a tiny little groove for each string to fit into. Guide the string into this groove.
The following video is cued to the part pertaining to this step.
Step 3: Guide Your String Up The Violin Neck And Hold In Place
There are 3 easy ways to complete this step.
For right-handed players: Guide the string straight up the violin neck. Once you are about ¾ of the way up, use your LEFT thumb to hold the string tightly in place against the neck.
For left-handed players: Again, guide the string straight up the violin neck. Once you are about ¾ of the way up, use your RIGHT thumb to hold the string tightly in place against the neck.
If you have someone to help you: Ask them to hold the string in place, as above, to make the next steps easier for you.
Pro Tip!
Try not to give it much slack as the string will loosen and the ball will slip out of the tailpiece.
The following video is cued to the part pertaining to this step.
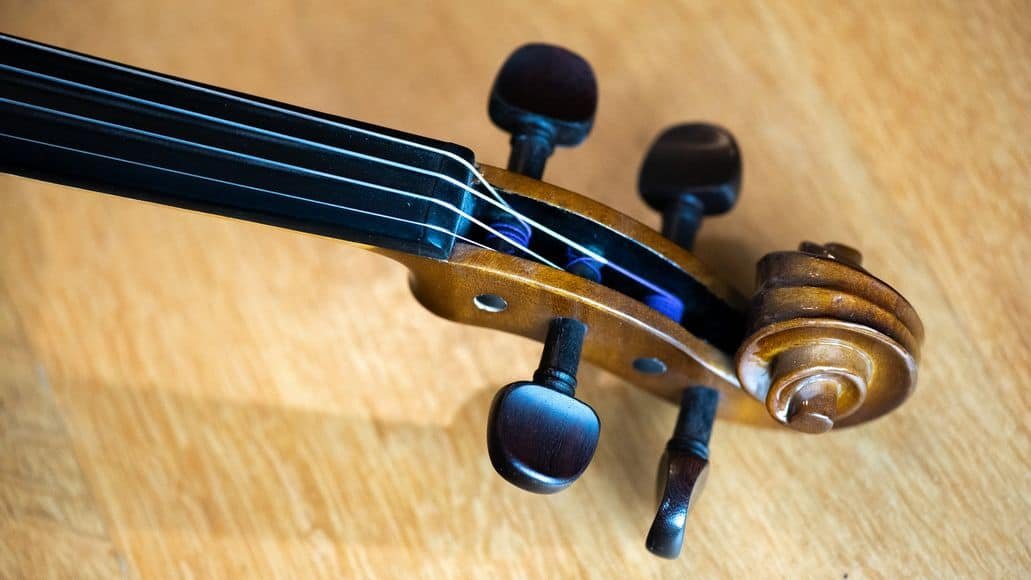
Step 4: Thread The End Of Your String Through The Tuning Box
This step is relatively straight forward.
If you look at your tuning box, you will see that each peg has a small hole in it. If you can’t see it, simply turn your tuning peg until you can!
With your free hand, grab the end of the string whilst your other hand (or your helper’s hand) is still holding the string in place against the neck.
Then, push the end of the string through the relevant hole until you can just about see the end of it poking through on the other side. Push through until around a half centimeter is visible.
The following video is cued to the part pertaining to this step.
Step 5: Tighten Your String By Winding The Tuning Peg
WARNING: This step is perhaps the trickiest of all. Make sure you read the entire step before attempting to tighten. Here we go…
- You can now remove your thumb from holding down the string!
- With your strong hand, gently pull the string to one side. (Note: If you are replacing your far left string, pull the string to the left and off the neck. If you are replacing your far right string, pull the string to the right and off the neck. If you are replacing a middle string, it doesn’t matter which way you pull it.)
- With your free hand, start winding the peg. You need to maintain a strong grip with your other hand on keeping the string to one side.
- Once you have done this, realign the string onto the neck until it slots into its groove.
You will now notice that your string is neatly wound around the tuning peg. This is because you moved the string to one side whilst winding, allowing it to wind neatly. Nice one!
The following video is cued to the part pertaining to this step.
Step 6: Tune Your String
Almost there! You’ll notice that your string is not quite in tune yet.
How do we tune it?
- Very gently start winding the tuning peg until you feel it is in tune. It’s really important that you do this gradually. Yanking the peg or winding it too fast can cause the string to snap.
- Once you feel your string is in tune, do one final check by playing the string with your bow for a better, clearer sound.
Pro Tip!
Tune your note to a piano for accuracy.
So there we have it. That’s how you change a violin string in 6, easy-to-read steps! I hope you found this guide useful and were successful in fixing your broken string.
This is actually the same way a professional violin repair person would fix a broken string, except this way is free! Who doesn’t love saving money?
That said, a professional luthier will do a much better job and save you a lot of time. And they don’t charge as much as you might think, so for many, it actually makes more sense to have your strings professionally changed.
Violin String Replacement Cost
The largest cost when replacing violin strings is the cost of the actual strings themselves. A set of strings generally costs between $20 and $100.
Strings for beginners cost less than strings for more advanced players. The best violin strings for professionals cost over $100.
Often you only need to replace one string, not all of them. The cost of a single string varies as well, with the G string (the thickest one) costing the most and the E string (the thinnest) being the cheapest.
Having a professional replace the strings for you does not cost much at all. You can see a good sample price here. That place charges $4 per string, which should give you an idea what you might expect to pay.
How To Replace Violin Strings: Final Thoughts
The cost to replace violin strings is not all that high, even if you have a professional do it. And if you do it yourself, it can take a lot of time. For that reason, we usually recommend having it done professionally.
However, we understand that not everyone has the budget for that. And some people just prefer to handle things like this on their own. If that is you, hopefully this guide has helped you successfully replace your violin strings.
Let us know in the comments if you have any questions or comments!
Leave a Reply