 We’ve all been there.
Every guitarist has struggled with weak and clumsy fingers that simply won’t move the way you need them to.
That includes the best guitarists who ever lived.
But all of them got their fingers to cooperate eventually.
With the finger exercises for guitar we have for you below, you will get there too.
Work your way through these fingers exercises and don’t get frustrated if your fingers won’t cooperate. It takes time. Be patient and keep at it. Soon enough, your fingers will be able to move the way you need them to.
Table of Contents
Finger Exercises For Guitar
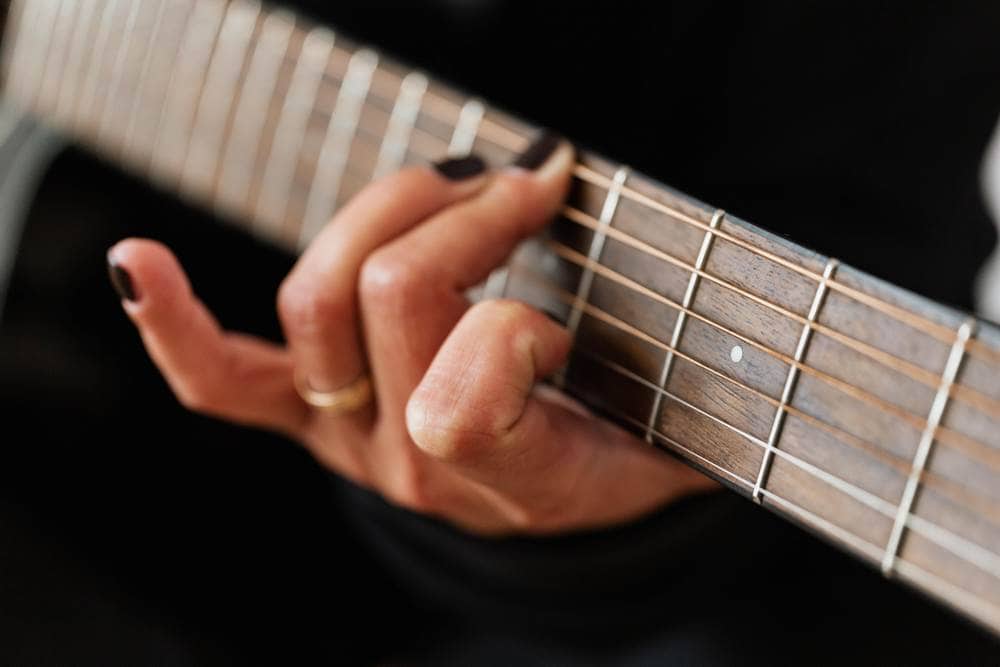
Take your time with these exercises and take plenty of breaks, if your fingers, hands, and wrists start hurting. You can’t learn guitar without some pain in your fingers, but you can take steps to minimize it.
All-Encompassing Chromatic Scale Exercise

The chromatic scale is essentially a scale consisting of notes that are next to each other (one semitone apart). So before you even start this exercise, know that you won’t have too many things to memorize.
The first exercise I want to cover is a simple “1-2 1-2” pattern where you’ll be using all four fingers on your fretting hand. Due to the versatility of the chromatic scale, we can break down this exercise into three levels:
- Beginner: fret the first four notes of every string
- Advanced: fret the first two notes on E, then the 3rd and 4th on A string, and continue ascending with the same pattern
- Expert: fret the first two notes on E, then the 3rd and 4th on the D string, then 4th and 5th on the A string, the 6th and 7th on the G string, and then return
Regardless of which level you try, the purpose of this exercise is to help improve your hand-eye coordination, finger strength and dexterity, and fretboard navigation. t’s one of the simplest exercises that can help you improve every aspect of your playing.
Finger Strength & Tapping Exercise

Finger tapping allows you to play notes without fretting them. As a skill, it’s not overly difficult. But most beginners halt their progress by only tapping with the fingers they feel comfortable with.
You may have encountered scenarios when the speed of a certain lick required you to tap with your uncomfortable fingers, and you simply didn’t have enough strength in your, say, pinky or ring finger, to follow through. This exercise should hopefully take care of that issue.
For starters, use the chromatic scale I just mentioned and press the first four frets on the E string only with your fretting hand. Once the basics feel easy, spread the pattern out by fretting the first 3 frets and the 5th with your pinky finger. Follow the same pattern on each string of your guitar.
For the second part of this exercise, start the chromatic scale pattern with your middle finger on the 3rd fret, follow through with your ring and index finger on the 4th and 5th fret, and tap the second fret of the A string with your index finger. Mirror this pattern across the fretboard until you’ve tested all possible combinations.
Spider Chord Accuracy Fretting Exercise
Fretting accuracy is crucial for all guitarists, especially solo guitar players. If you feel that your play style is sloppy at times, this exercise can help improve your precision.
The ‘Spider’ pattern is anything but the chromatic scale. It can be a combination of the 1st and 4th fret played with your index and pinky finger, followed by a simple slide with your middle and ring fingers on the string above. Or a simple ‘staircase’ shape used to ascend and descend the fretboard in 3 semitone intervals.
The main goal of this exercise is to help you focus on notes, strings, and shapes that you are struggling with the most.
- Middle finger accuracy: start the shape by fretting the 5th fret of the E string with your index finger, the 7th fret with your ring finger, and the 6th fret of the A string with your middle finger.
- Ring finger accuracy: build a ‘staircase’ shape by fretting the 1st fret of the E string with your index finger and the 4th fret with your ring finger. Ascend the strings with the same shape and return. For an extra challenge, add one semitone per ascent (2-5, 3-6, 4-7, etc.).
- Little finger accuracy: the same as the second variant, but use your little finger instead of your ring finger.
I purposefully excluded the index finger from the list because it’s typically the most developed and most frequently used finger for most players.
Finger Dexterity And Endurance Training

It is virtually impossible to evenly develop the endurance of each of your fingers. Most guitarists instinctively use two fingers to form chords and play, leaving the other ones (usually middle and pinky fingers) slightly neglected.
Instead of recommending an actual exercise, I’ll direct you to any of the aforementioned ones. But this time around, use only your under-skilled fingers at a much slower tempo.
Start with the chromatic all-purpose exercise to get a feel for how quickly you get fatigued with the simplest of patterns. Then try tapping the easiest shapes (1-2, 1-2 patterns) across the fretboard.
Spice it up with octaves by fretting the 1st fret of the E string with your middle finger and the 3rd fret of the D string with your little finger. Memorize this octave shape and mirror it across the first 3 strings of the fretboard.
Fretting & Picking Hand Coordination Exercise
Unless you’re building a style solely on tapping techniques, you’ll want to synchronize your fretting and picking hands (and fingers) as much as you possibly can.
Focusing too much on your fretting hand can lead to a severe loss in accuracy of your picking hand. This exercise is meant to balance this potential issue out.

There are dozens of fretting shapes and strumming patterns that you can use and experiment with for this exercise, so let me recommend a few simple ones before gradually progressing to more advanced levels:
- Play the same (any) fret on each string with a single downstroke in ascending fashion.
- Repeat, but this time ascend and then descend.
- Play two notes (any) on each string with a single downstroke; ascend, then descend.
- Repeat, but this time with a downstroke on every 1st in each pair, and an upstroke on every 2nd note.
- Play three notes per string with a down-up-down, up-down-up strumming pattern.
- Try doing the same with power chords or regular chords. Reduce the tempo if needed.
- As an ultimate test, experiment with chromatic, tapping, and spider chord shapes mixed with alternating upstrokes and downstrokes.
These are merely recommendations and guidelines. Feel free to adjust any fretting shape or strumming pattern to cater to your playing experience and skill.
Guitar Finger Exercises: Final Thoughts
The journey to mastering guitar requires dedication, patience, and consistent practice of finger exercises for guitar that target various aspects of playing.
From building strength and dexterity with the all-encompassing chromatic scale exercise to improving finger tapping techniques, and from enhancing fretting accuracy with the spider chord exercise to boosting finger endurance and coordination between both hands, each exercise serves a unique purpose in developing your skills.
Remember to listen to your body and rest when necessary to prevent injury. Shorter practice session more often is the best way to master the guitar. Ultra-long sessions just lead to fatigue, burnout and injury.
Don’t rush things. With time and perseverance, these exercises will not only refine your technique, but also empower you to express your musical ideas with ease and confidence on the guitar.
Leave a Reply